This was a week long escapade where we played two games. Abensberg & Eckmuhl . The battles occurred very close to each, time wise, in the 1809 Danube valley campaign. Both battles were linked with Davout's attempt to escape the main Austrian army before Napoleon would arrive to save the day.
Abensberg is the first battle we played where Napoleon has arrived. It starts with the Austrians facing a weak French deployment and the French get massively reinforced, with a major part appearing on an Austrian flank. I'll leave people to read the history themselves but suffice to say that both battles are very similar in setup.
The difference, game wise, was that in the past, these battles were played as one. This meant that as the game was new, neither side was quite sure what to expect or suspect. What worked great was the French idea of acting very aggressively with their starting forces and then await the flank attack hammer blow. The Austrians knew they outnumbered the French at the beginning, they knew that they themselves would be reinforced and that inactivity would play into French hands.
The Austrians decided to be cautious and deployed their weight against the flank where their reinforcements were expected. The pictures below show some of the action from the game.

This picky shows the new tile system I have developed. A single tile represent s a Division of something. It could be as little as two regiments of cavalry or as large as fifteen battalions of infantry with artillery support. This generates the fog of war. There are restrictions and limits as to where troops can deploy when "seen" and this will get covered in more depth in a future publication.

The weak Austrian flank, held by a cavalry formation supported by Grenzers. They are manoeuvring to try and flank the French who are in the background, beyond the village. Little did they know that the main French flank attack would arrive in this position.

After a slow start, Austrian cavalry also advance in the centre against what looks like a small French infantry division. The cavalry you are looking at is a single regiment of Austrian Hussars with an other regiment to the right of the picky

This is the same situation form a different angle and taken further back. The Austrian cavalry would eventually attack the French line to the top of the piccy.

French cuirassiers, from the flank attack, arrive and immediately engage the Austrian cavalry. The Austrian Grenz has been forced into square and the French cavalry would ignore them and leave them to their arriving supporting infantry.

This shows more general action in the same area. The French cavalry to the bottom right are pushing past the right of the village to reinforce the French infantry in the centre. The Austrian cavalry to the left of the picky has already been defeated in action and is retiring in an attempt to reorganise. The village is still firmly in Austrian possession at this point.

Some time later sees the French cavalry having completed their manoeuvre to the French left centre and are now beginning to attack the Austrian infantry in order to provide relief to the French infantry in this sector. To the bottom left can be seen French infantry from the flank attack arriving and also manoeuvring to support the French centre. There is also another French infantry division, out of shot to the left, assaulting the village in the picky from the left.

French cuirassiers, supported by infantry in the centre right, prepare to assault Austrian infantry squares. Nansouty would personally lead the assault

Pictured form the other side, the French cuirassiers charge the squares and "break" two of them. Supporting infantry would attack the remaining squares and see them off.

This sums up the Austrian situation on the flank of their army. The cavalry, centre right, is Jacquinot's French light cavalry and has just ridden through three battalions of retiring Austrian infantry. The gun battery in the foreground would be the next victim!
The next battle, Eckmuhl, would play differently. The setup is very similar, a smaller French force and a large hammer blow on a flank. The big difference this time was that the players were now expecting this type of occurrence. In fact, the first days play was nearly all manoeuvre where the Austrians were taking their head out of a noose and trying to realign their army. Being able to play these games over days does enable this type of historic situation to happen and be allowed to develop. Some piccies from this game.

This was the start of the French flank attack. Infantry moving to assault a village behind the left flank of the Austrians. The Austrians had the foresight to garrison this village, Eckmuhl as it happens, and all the cavalry in shot is Austrian cavalry that had advance but is now trying to issue new orders and redeploy to remove itself from being trapped by this flank attack.

I'm struggling to remember this picky, but it is from the other end of the battlefield where more Austrians arrive from Ratisbon, reinforcing the stronger flank of the main army.

This picky is all Austrian. The Austrian infantry in the centre is redeploying in knowledge of the French flank attack arriving. Austrian cavalry is attempting to get to the front, through the traffic jam, to screen this manoeuvre.


More French divisions move up to the attack.

This is the main lines of both armies now engaged. The village was now the left of the Austrian line and is being assaulted by a crack French division. Austrian Grenadiers are in the foreground, supporting the defence of the villager and attempting a general counter-attack.

Total mayhem at eh critical point. The village was the hinge of the Austrian line, now deployed at 90 degree angle from this village. The French would commit two divisions to this assault and the Austrian two in defence. The outcome would be uncertain for a good number of turns.

The French eventually carry the day and open up the Austrian main line which begins to unravel.
A great weeks wargaming, enough time for all the rules to be used and also to allow the battles to develop from the game starts with fewer troops in position and many more arriving.
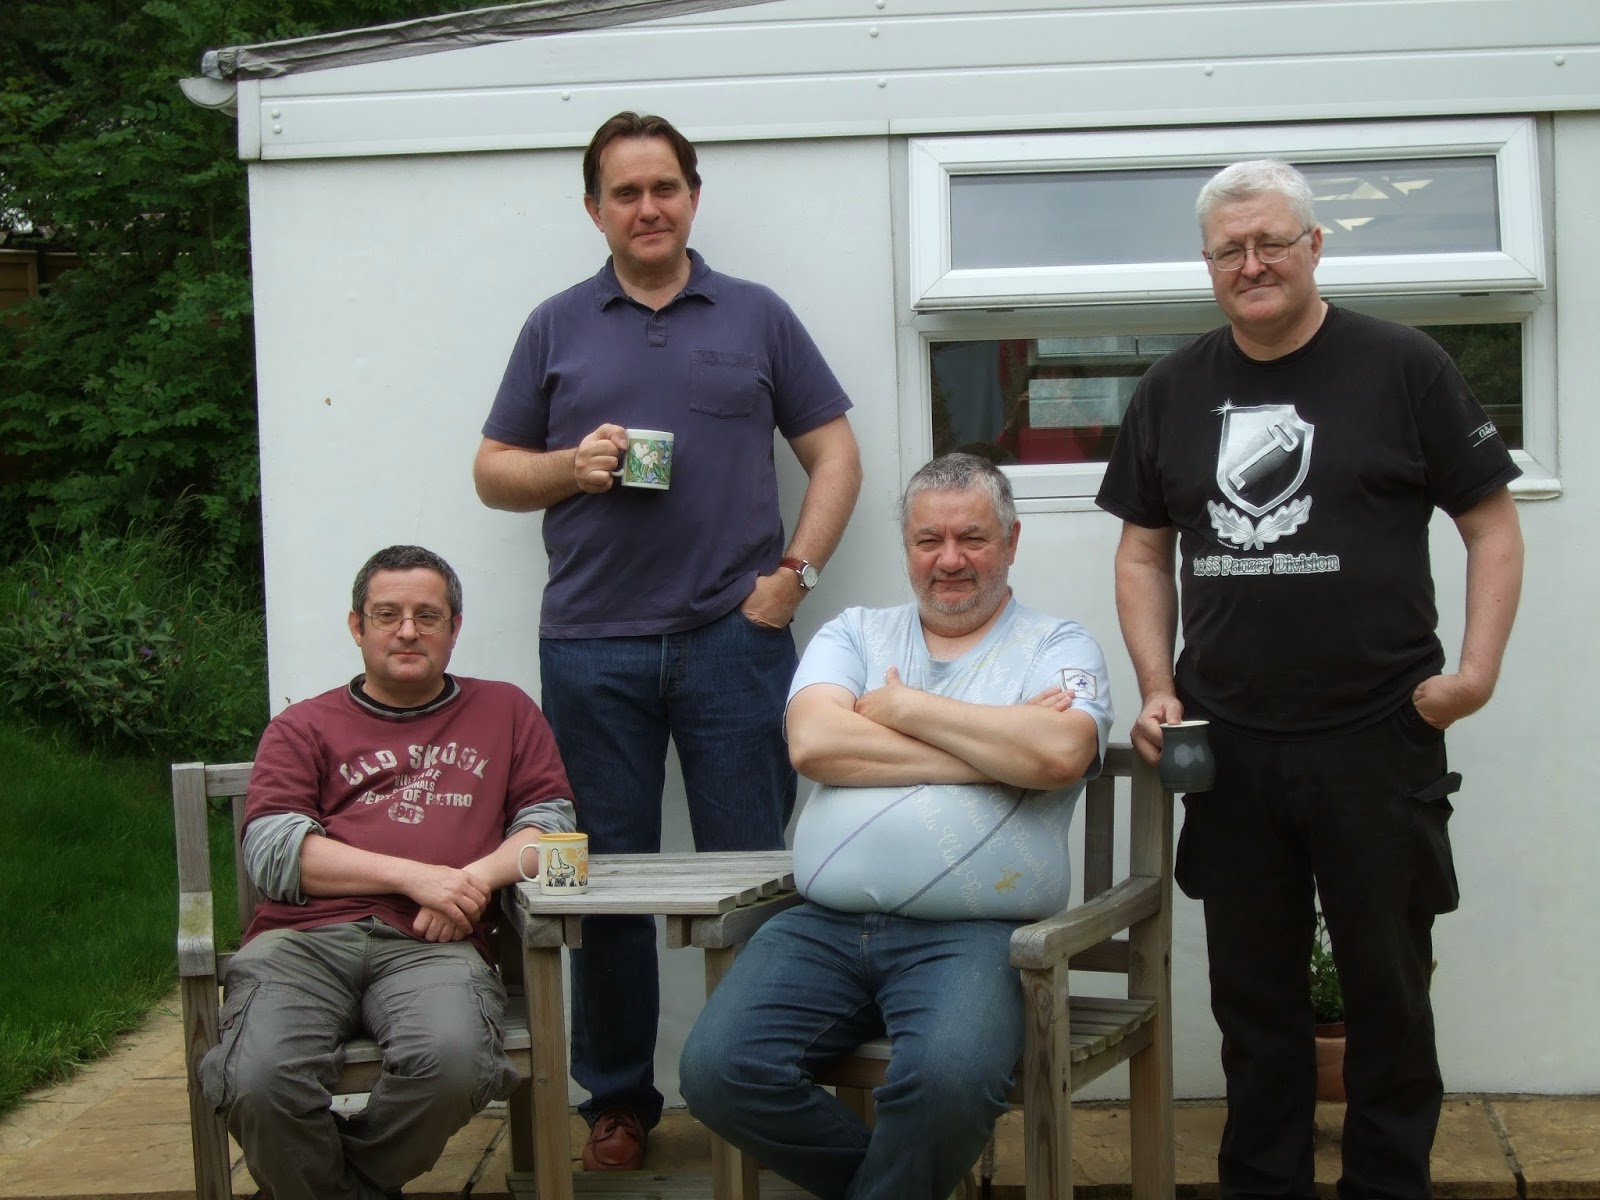
Regular faces of the Generals attending both games. I forgot to take a picky of two other guys who played in the first game, but I'm sure they won't mind.
Other news. The rules should be available to purchase from Caliver at the end of this week. They look very smart and have lots of piccies from the Situation room included.
There will be more publications, the first of which I am working on. There will be a companion set of books covering specific battles. They will include all the OBs, maps and indications of deployments and some piccies of actual gameplay from the games. The first one will be the 1809 Danube Campaign. In addition, each of these books will cover a specific aspect of the rules, in greater depth, a feature if you like.
That's all for now. I've another write ready, probably next week.